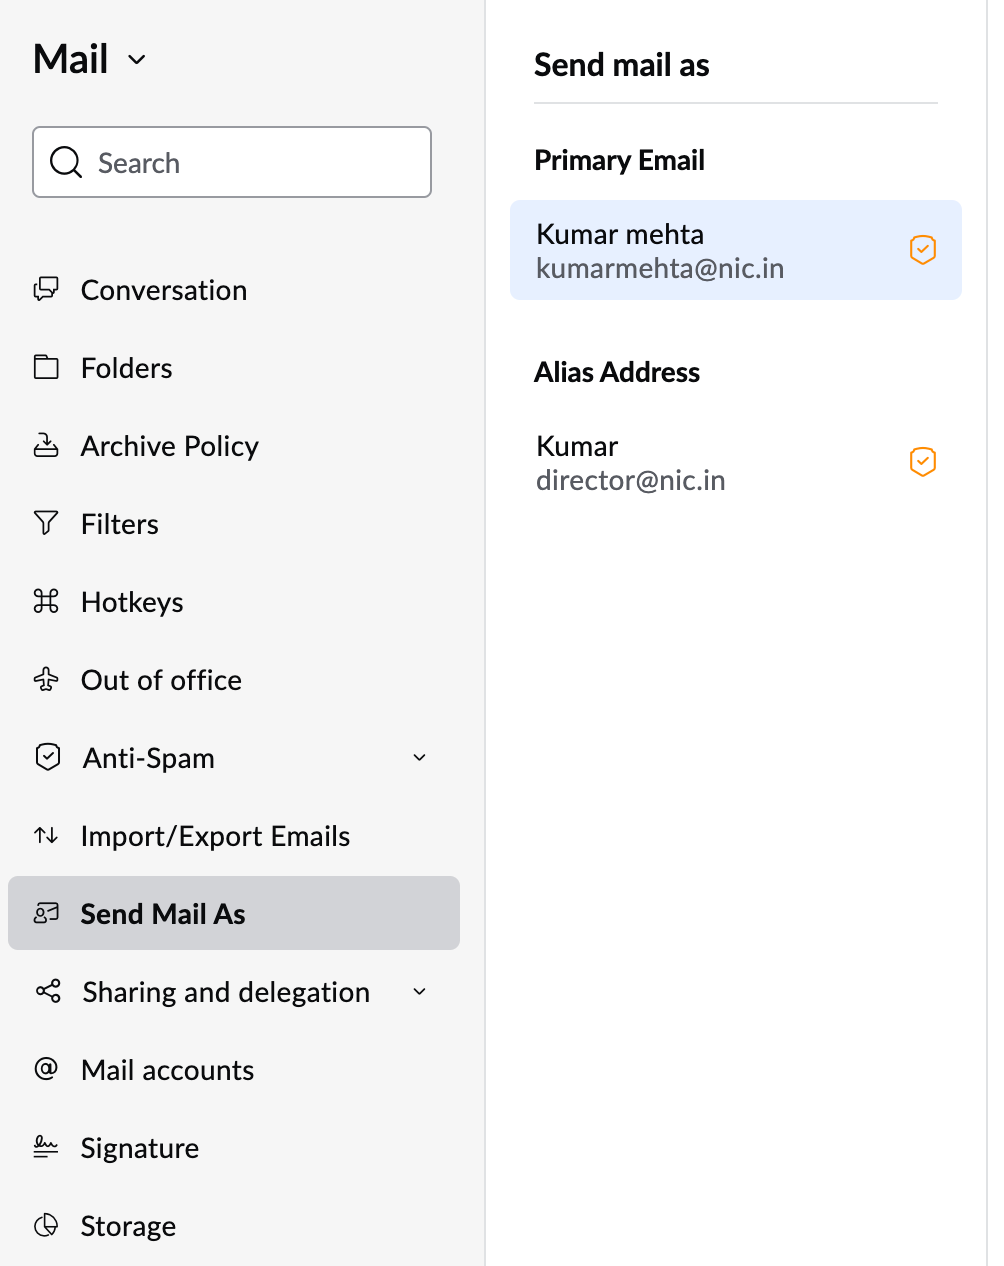
Primary email details
The Send Mail As section in NICeMail enables you to send emails using various email addresses as your 'From' address. You can add your email addresses to NICeMail in order to send emails from NIC webmail.
Display Name - Outgoing Emails
The Display Name in the Send Mail As section for each 'From' email address/ email alias address is how your name appears on the outgoing emails sent using that particular email address.
Note
- As a user, you won't be able to edit the Display Name of email addresses associated with your account.
- If you want to update your display name, please contact the Delegated Administrator of your department.
- Delegated Administrators can update the display name of the user from the Delegated Admin Console. For detailed, step-by-step instructions on how to update the display name, please refer to this help document.
Different 'From' Email Address
By default, your NIC account's email address will be set as your 'From' address. You may also have email aliases as 'From' address, in case your domain email is hosted with NIC. You will not be able to delete the email aliases from the 'Send Mail As' list.

Associate Default ‘From’ Addresses for Mail Accounts
Once you have added the Custom 'From' Addresses, you can associate different Email addresses with various accounts configured. Each time you open the composer in the mail UI, the added custom 'From' address will appear as the default 'From' address for the account.
- Login to your https://mail.gov.in/ .
- Select Settings.
- Navigate to Default From email address field under the General section.
- Click on the drop-down.

- Choose the relevant address to be associated as the default from address for that account.
- Click Save.
ReplyTo email address
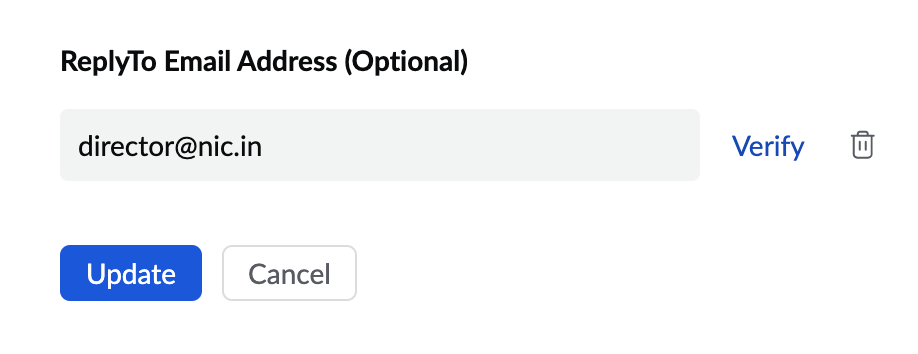
You can set a ReplyTo email address for any of the 'From' addresses that you configure.
- Login to your https://mail.gov.in/ .
- Select SettingsSend Mail As
- Click on the Edit button across the From address for which Reply To needs to be added.
- Click on the Add ReplyTo email address.

- Enter the desired ReplyTo address and click Update.
- A verification email will be sent to the ReplyTo address. Click on the Verify button.
- Enter the Confirmation code sent in the verification email.
- Click Verify.
The entered email will be added as the ReplyTo address for the particular From address.
Note:
Verify ReplyTo button will be available only if the associated From address is already verified.