NICeMail Services Dashboard
NICeMail Services Dashboard is a centralized panel to access all the applications. It displays an overview of all the applications in the form of widgets.
You can access all the NICeMail Services applications from the Dashboard's top-bar. The list of applications include:
- NICeMail applications
- Mail
- Calendar
- Tasks
- Notes
- Contacts
- Bookmarks
- Search
- Mail
Getting started
NICeMail is a cloud-based email communication platform designed for the modern workforce. The NICeMail services suite of applications is a combination of classic email features with advanced productivity tools, such as :
Mail - An enhanced email communication solution that allows you to send, receive, and manage emails securely and effortlessly.
Calendar - Efficient time management, event scheduling, and meeting organizer.
Tasks - Organize your work and to-do lists by creating tasks and subtasks.
Notes - A single place to note down your ideas/ thoughts or scribbles, add images and/or attachments.
Contacts - Manage your personal contacts and address book efficiently.
Bookmarks - Access all your important reference pages from within your mailbox.
Resources - Booking conference, meeting, and training rooms across different branches of your organization.
Compose and send a new email
- Login to https://mail.gov.in/
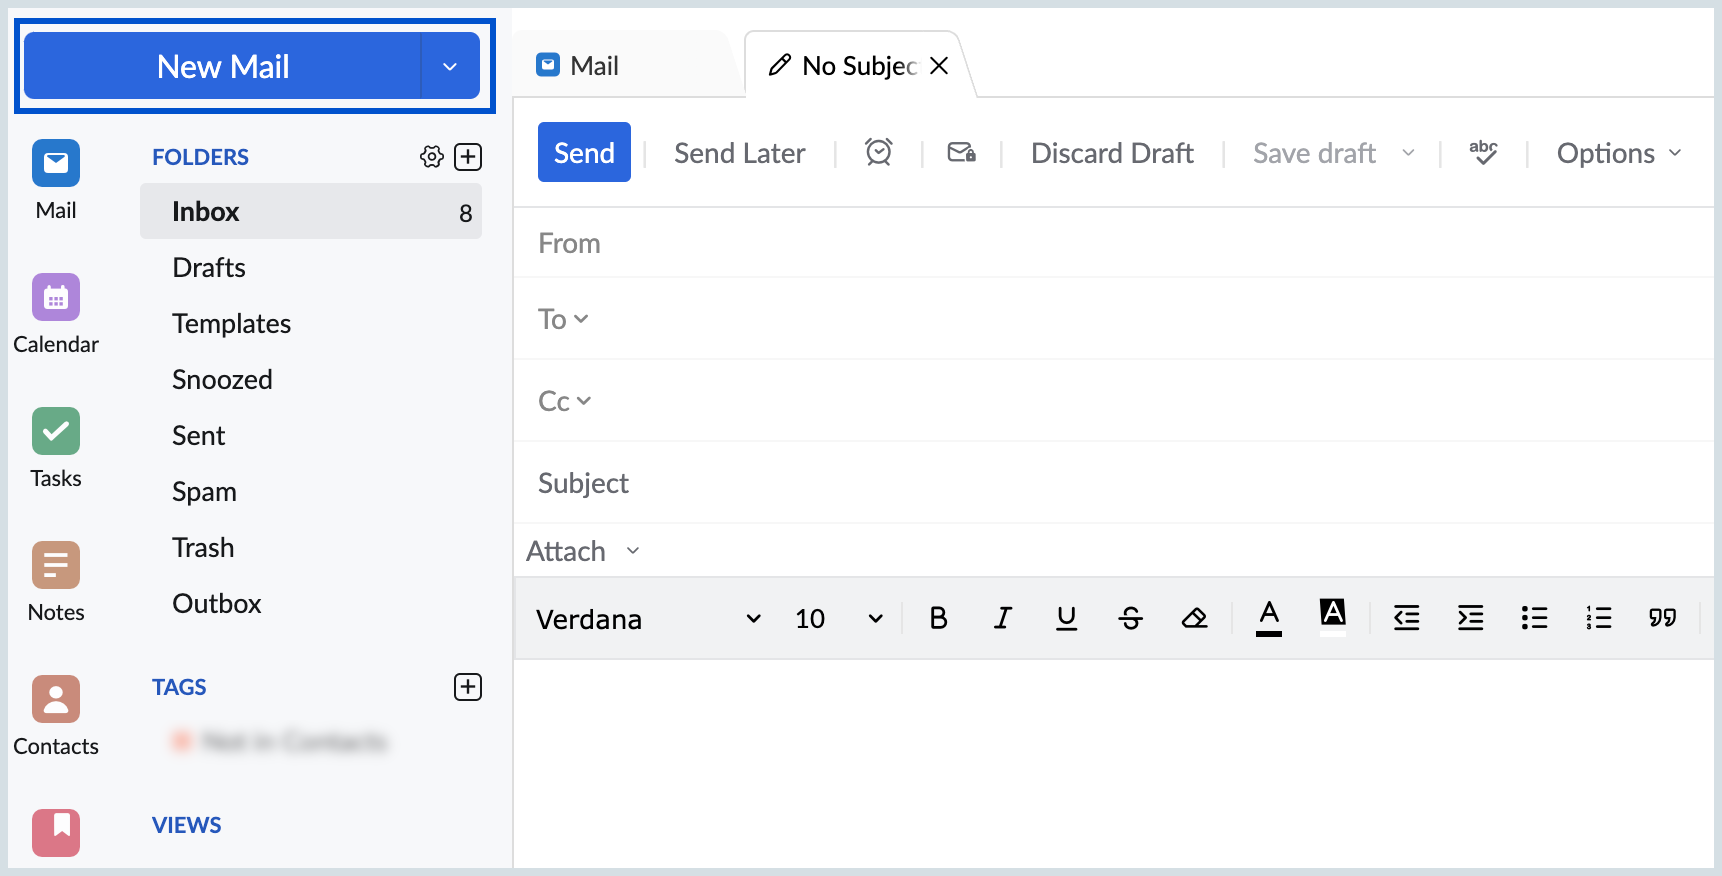
Click on the New Mail button in the left pane of your Mailbox. The NICeMail Composer will open.

- Enter the required details like To, CC, Subject, email content, attachments, etc.
- You can use the rich formatting options present in the Composer to format your email content.
- Once your mail is drafted, click the Send button in the top left corner of your Composer.
The email will be sent to the recipient. You can find this email in your Sent folder.
Note:
You can enable Outbox delay so that the email lands in the Outbox folder for the specified duration before being sent to the recipient.

Insert Signature
NICeMail allows you to add custom signatures to the emails that you send. You can also create separate signatures that you can use particularly while replying to emails.
- Login to https://mail.gov.in/.
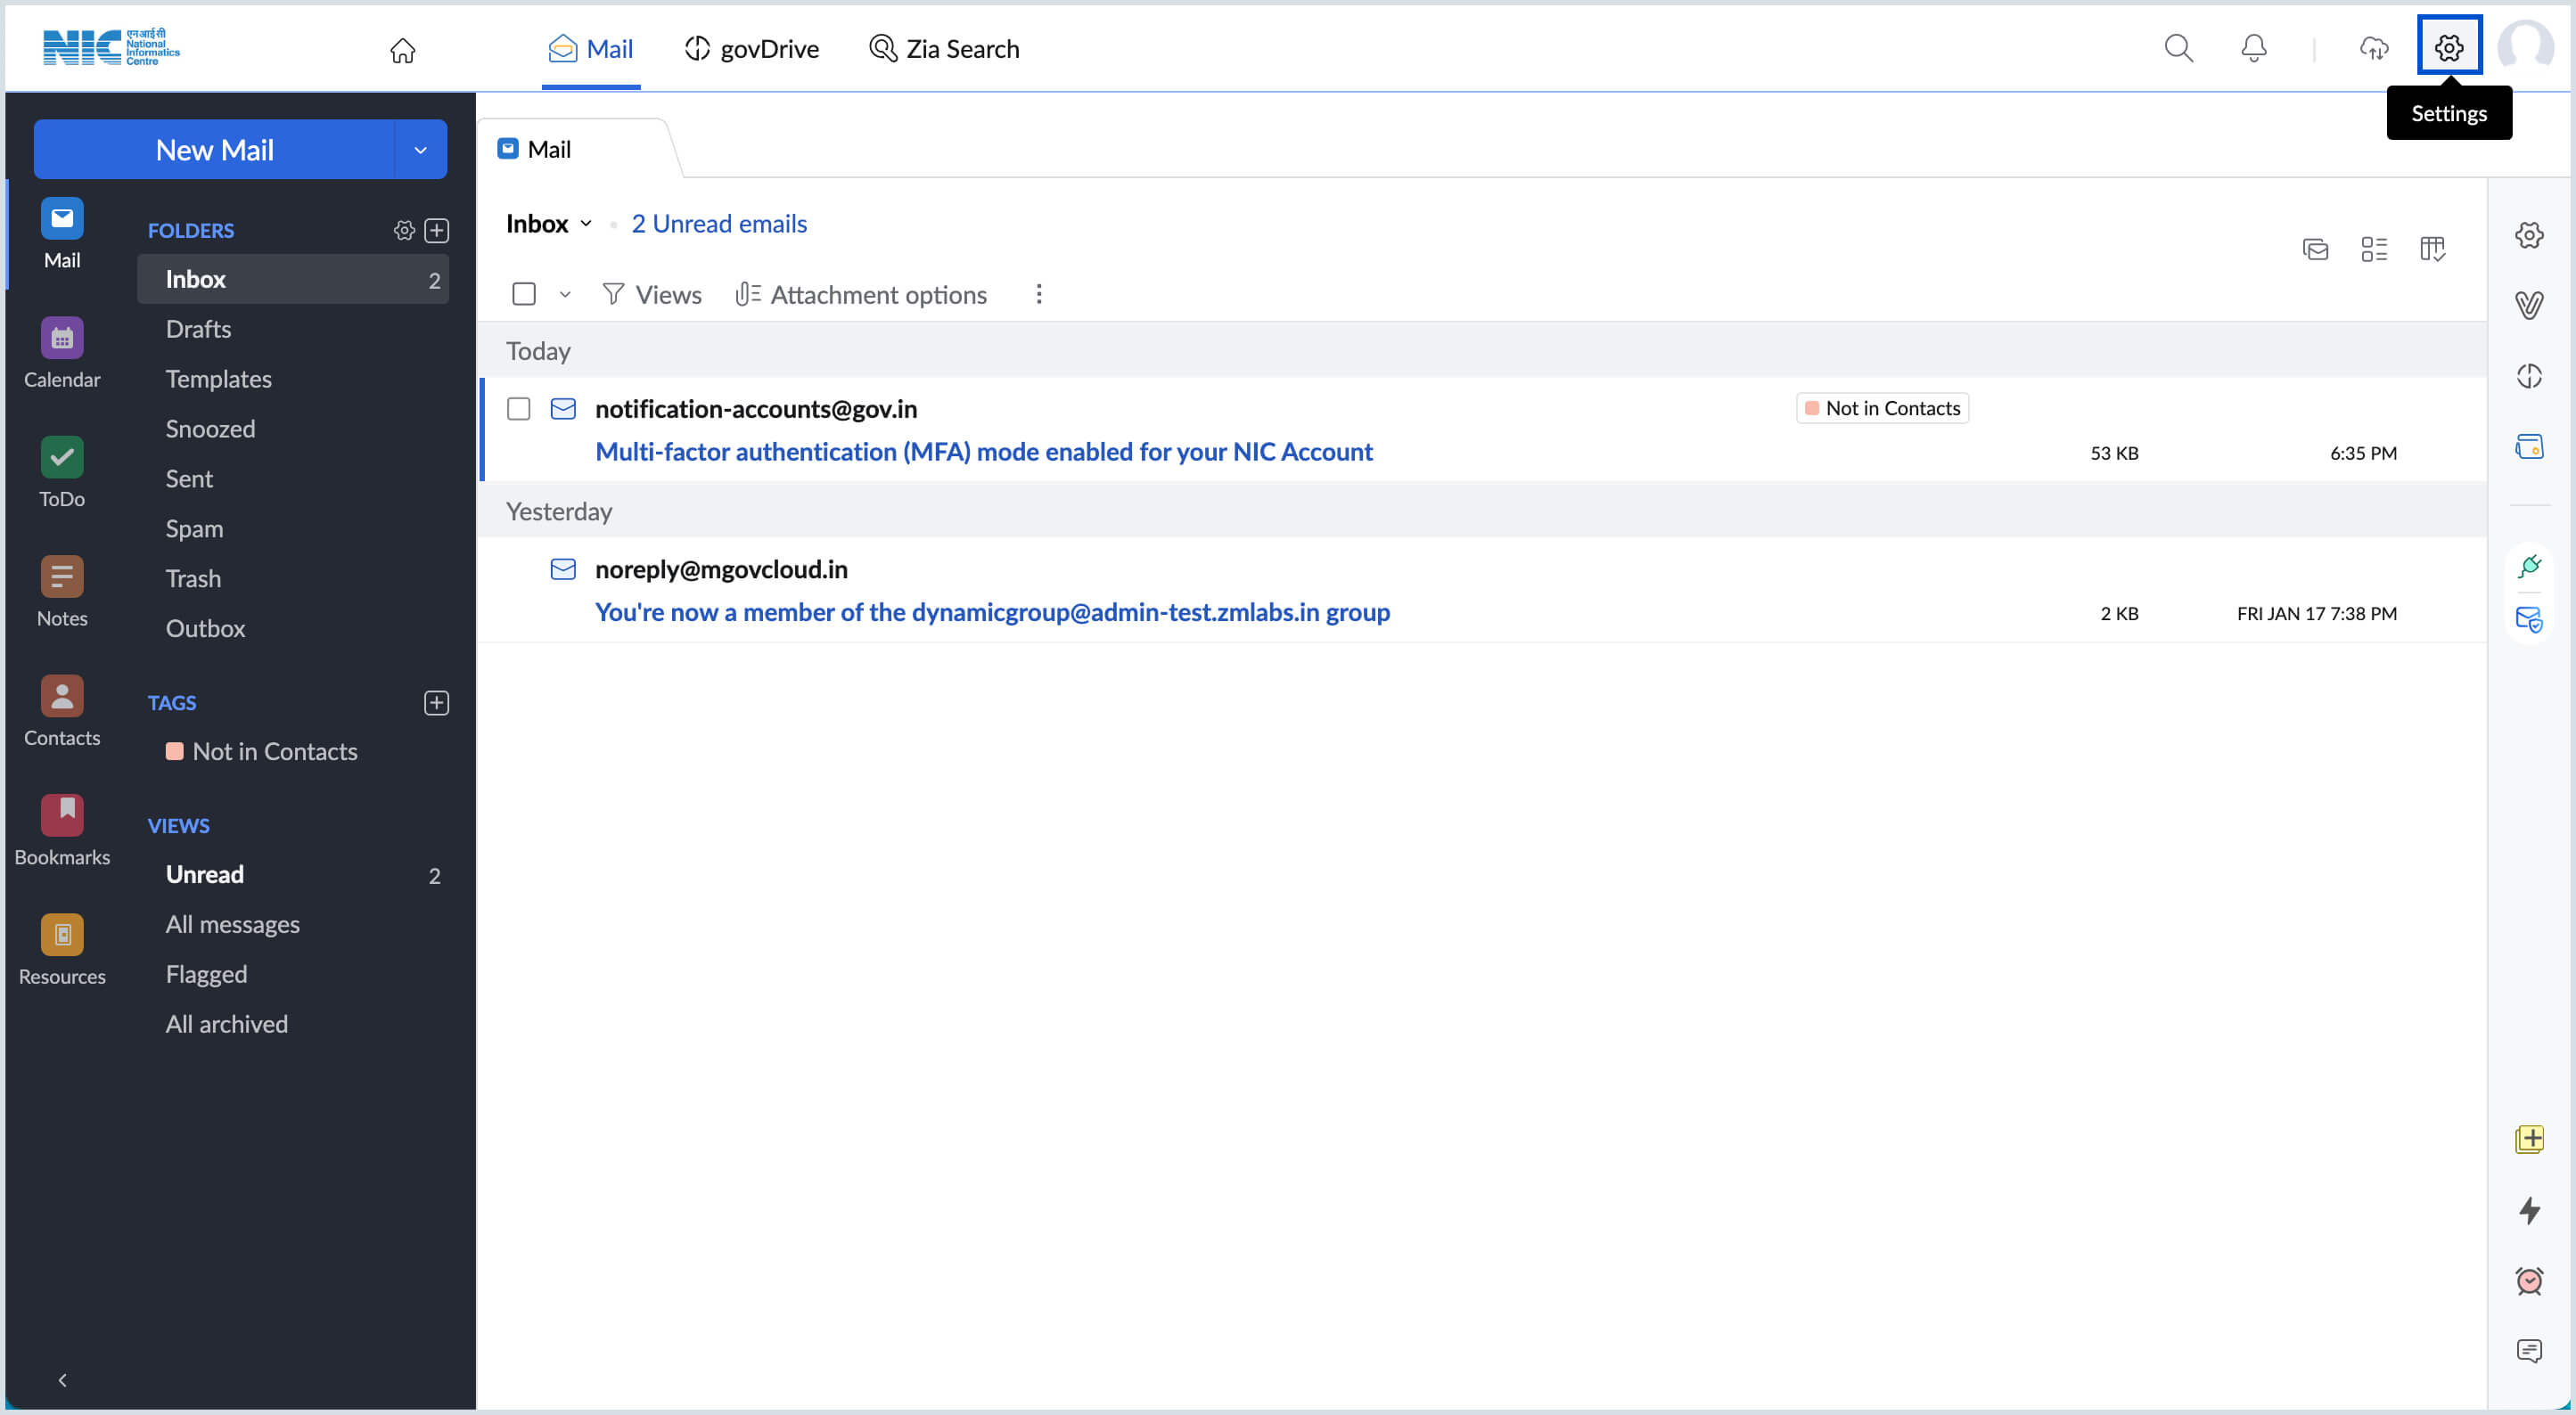
- Click the Settings icon.
Go to Signatures and click on the + icon to create a new Signature.

- Enter the details of the Signature with the preferred formatting. You can also insert images like logos.
- Associate a From address for new emails and reply emails respectively.
- Choose a Contact card to include in the signature.
- Once done, click Save.
Viewing emails
All the emails you receive will be listed in your NICeMail inbox. Unread emails are listed in Bold. You can click on the received email in the listing to open the new email.
You can choose how you view your email listing using the Mail View Options setting in your NICeMail settings section.
- Email listing View - You can view the email listing in Classic View or Compact View.
- Open message in - On clicking on any email, you can choose to open the email in a preview, as a new tab, or a new window.
- Show message with - You can choose if you want the email listing to display only the Subject of the email or both the Subject and Summary.
- Conversation View - It groups emails into conversation threads. You can unthread the emails by turning the Conversation View OFF.
Responding to Emails
Once you open an email you have received, you can choose exactly how you want to respond to the email. You can Reply, Reply All, or Forward.
| Reply | | The reply will be sent only to the Sender of the original email. |
| Reply All | The reply will be sent to all the recipients of the original email. | |
| Forward | The original email will be sent to the recipient of your choice. |
Manage your Inbox
You can easily manage your emails by organizing them according to your preference and convenience. You can manually move the email(s) in your Inbox to the corresponding custom folder. Click on the plus icon next to the Folders listing to create a custom folder with the name of your choice.
Move emails into Folders
- Select the relevant email(s) from your inbox using the checkbox next to the email in the listing.
Click on the Move to icon at the top of the listing.

- Choose the corresponding folder from the drop-down. You can also create a new folder to move the email(s) to by entering the name and clicking on Create.
The selected email(s) will be moved to the chosen folder.
Filters
You can configure Filters for your inbox to avoid manually moving the emails from your inbox. You can also use filters to perform other activities on incoming emails like applying tags, forwarding to, marking as read etc.
- Login to https://mail.gov.in/.
- Click the Settings icon.
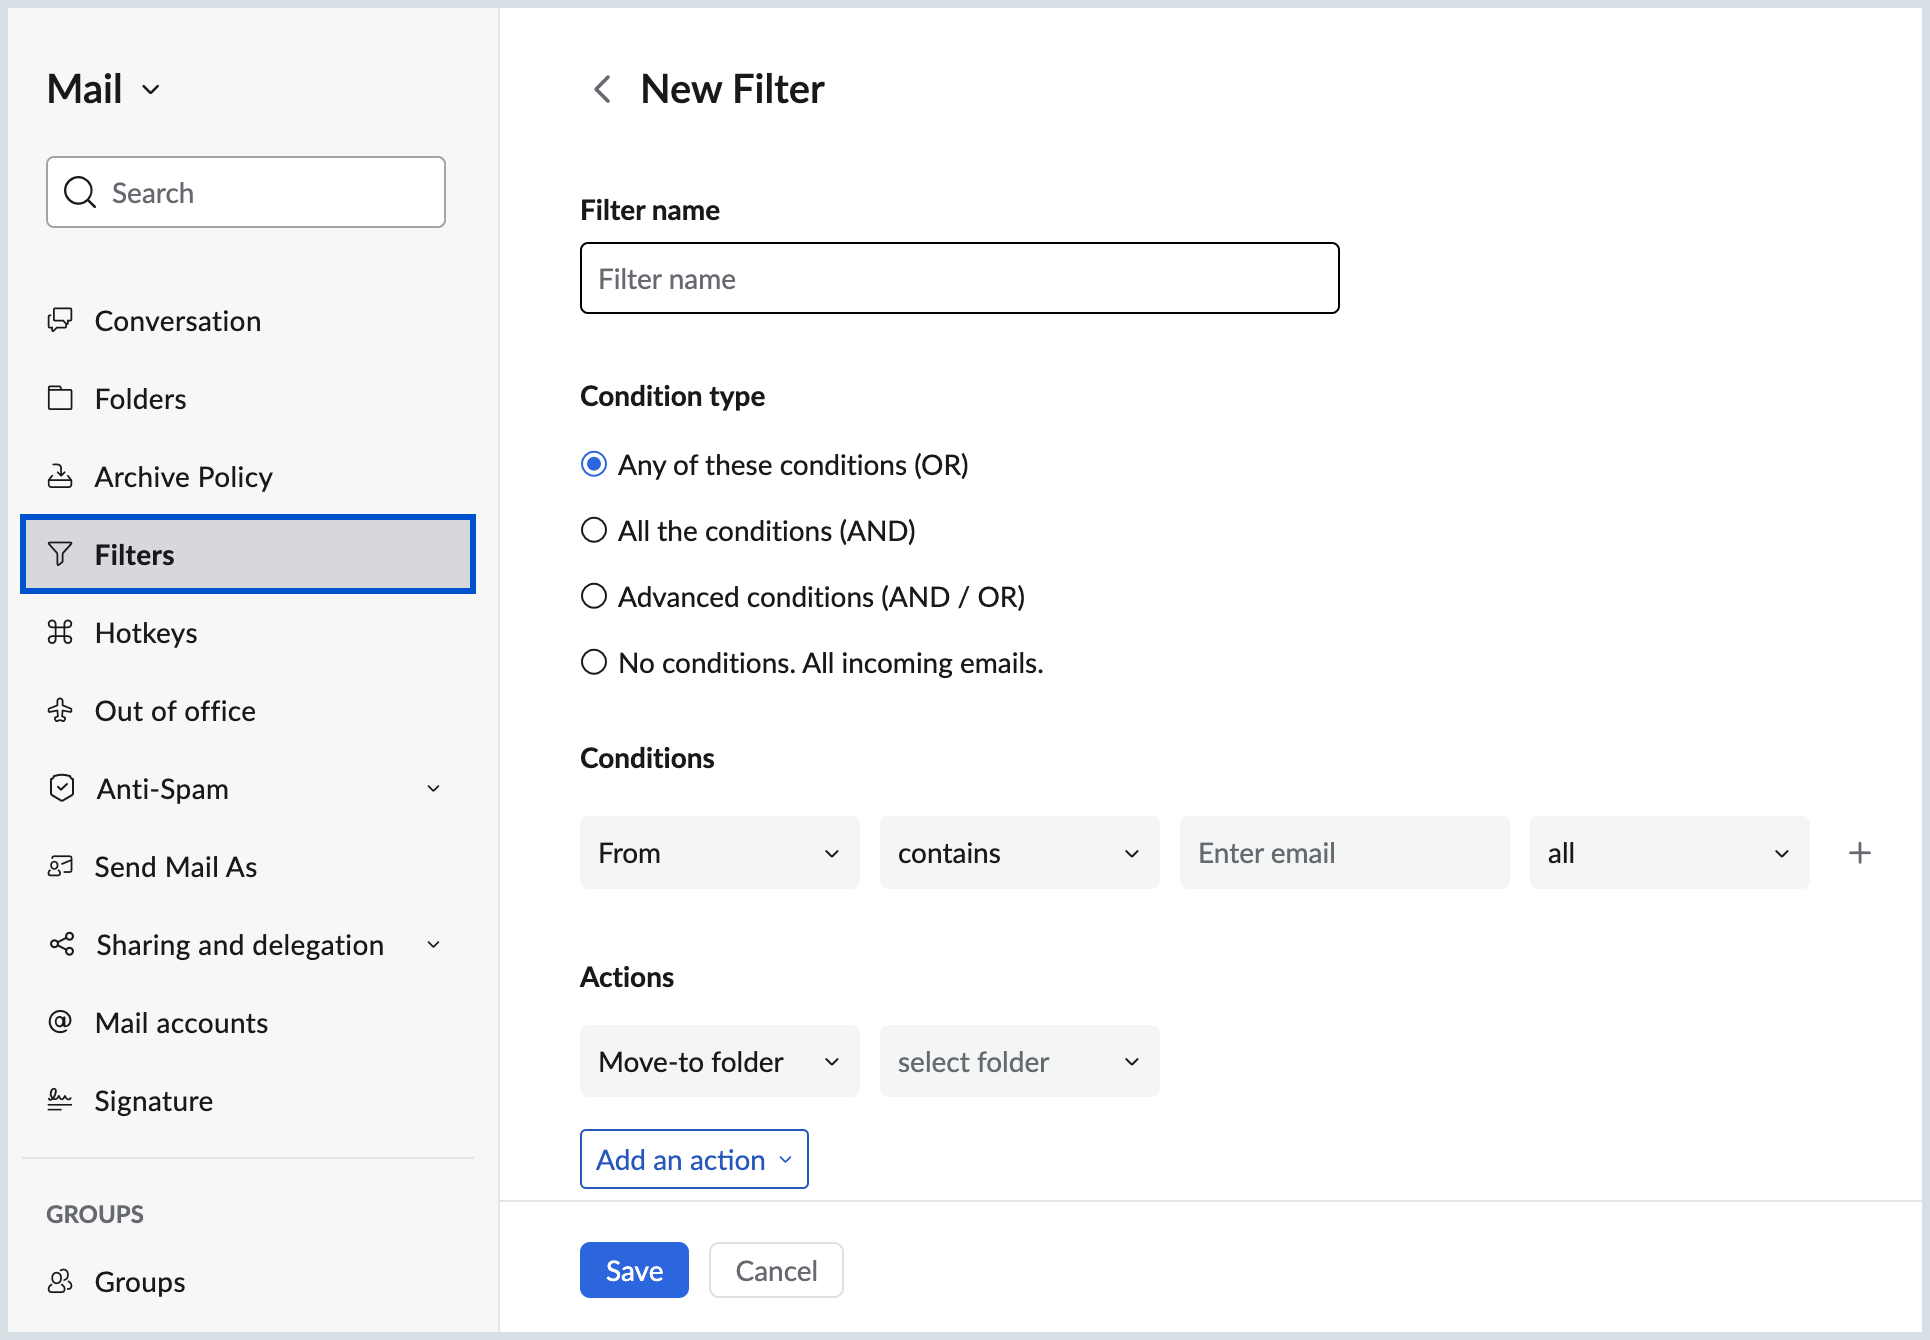
- Navigate to Filters and click on the New Filter button under Incoming Emails Filter or Outgoing Emails Filters tab according to your requirements.
The Create Filter dialog box pops up on screen. Enter the required details like Name, conditions, criteria, action etc and Save the filter.

Emails that match the criteria mentioned in the filter will automatically be moved to the mentioned folder.
Tags
You can apply tags of different colors and names to your emails to categorize them. Click on the plus icon next to the Tags listing to create a custom tag with the name and color of your choice.
- Select the relevant email(s) from your inbox using the checkbox next to the email in the listing.
- Click on the Tag as icon at the top of the listing.
Choose the corresponding tag from the drop-down. You can also create a new tag to apply to the email(s) to by entering the name and clicking on Create.

Along with tags, you can also flag important emails for easier access. Hover on the relevant email in the listing and click on the Flag icon to flag the email. All the flagged emails will be listed under the Flagged view in the left pane.
Searching Emails
NICeMail search allows you to search for entities across all the applications like Emails, Tasks, Notes, Calendar, Attachments, Contacts, Resources, Bookings, Bookmarks, etc. Using Quick Access, you can easily locate any section of the Settings that you need to find.
You can search for emails using different criteria like From, To/CC, In folder, Tag, Contains, Subject, Attachment Name etc. You can search with a combination of these criteria to narrow down the search results.
If you want to search in a different application, you can pick where you want to search from by clicking the drop-down. Choose the relevant application from the listing, and any query that you enter will be searched for in that application alone. Also, along with each application you can select from the multiple parameters that are associated with each entity.
Search history in NICeMail search lets you choose from previously used search parameter combinations, making it easy to repeat any search.
Dashboard Actions
- You can drag and drop the icons to arrange them according to your preference.
- Choose the preferred folder or group for your widget from the widget title drop-down. You can also drag and drop each element in the drop-down menu to create separate widgets for them.
- Hover over each widget to view the actions related to the widget. The items listed under each widget have actions specific to them, hover over each item to view the actions.
- Use Zia Search from the top bar to search using a keyword across all applications.
- The chat bar on the bottom left corner notifies of new Cliq messages and with the Smart chat option, you can open your recent chats easily. (Available to users based on the policy assigned to the organisation)
NICeMail Services Settings
View and customize the NICeMail Services dashboard by clicking the Settings icon in the top right corner. Here, you can enable or disable the widgets, configure display and appearances, language preferences, notifications, and navigate to your account settings. Learn more
