Managing Attachments
NICeMail provides multiple options to manage the attachments you receive in your emails. You can view different types of attached files like Documents, Spreadsheets, Presentations, Images, PDF, Text files directly in the browser, or via Applications for compatible format files.
All the attachments in your email are available in the Attachment Viewer to view them all in one place. Attachment viewer further supports quick actions, filters etc, to locate the files without worrying about the emails that have them.
View Attachments
NICeMail provides a quick view of most of the common types of attachments you receive. The common files such as pdf, images, text files, videos, and other media you receive can also be previewed in the browser itself, based on the built-in preview options supported by the browser you use. This helps you to view the file, without having to download the file and search for specific software to view the same. 
The following table provides you the list of attachment types and the NICeMail Viewer used for viewing the file on the go.
| Attachment Type | Option |
|---|---|
| xlsx, xls, sxc, ods, csv, tsv | Sheet |
| docx, doc, sxw, odt, rtf | Writer |
| ppt, pps, odp, sxi | Show |
| pdf, jpg, jpeg, gif, png, bmp, htm,html, eml, msg | Preview in the Attachment viewer |
| mp4, mp3, wav, mov | Plays in Attachment viewer |
| ics | View in the email, Add to Calendar |
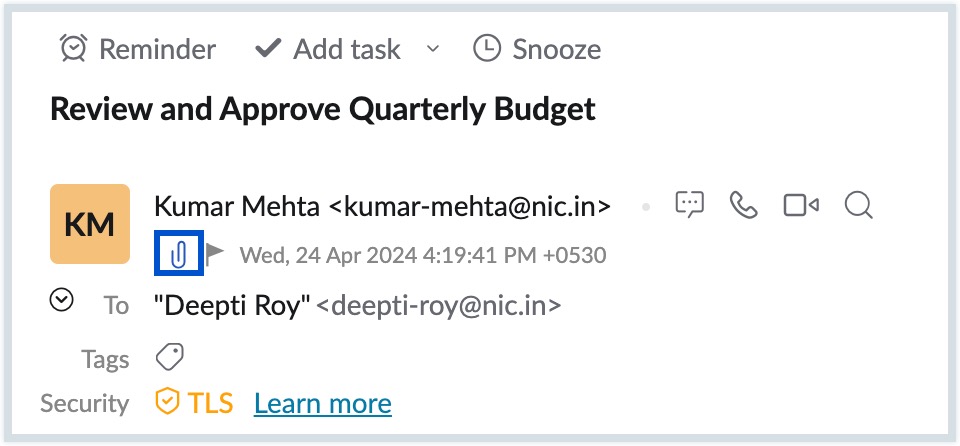
Click the Attachment icon, in the header region of the email preview pane to directly navigate to the Attachments area in the email.

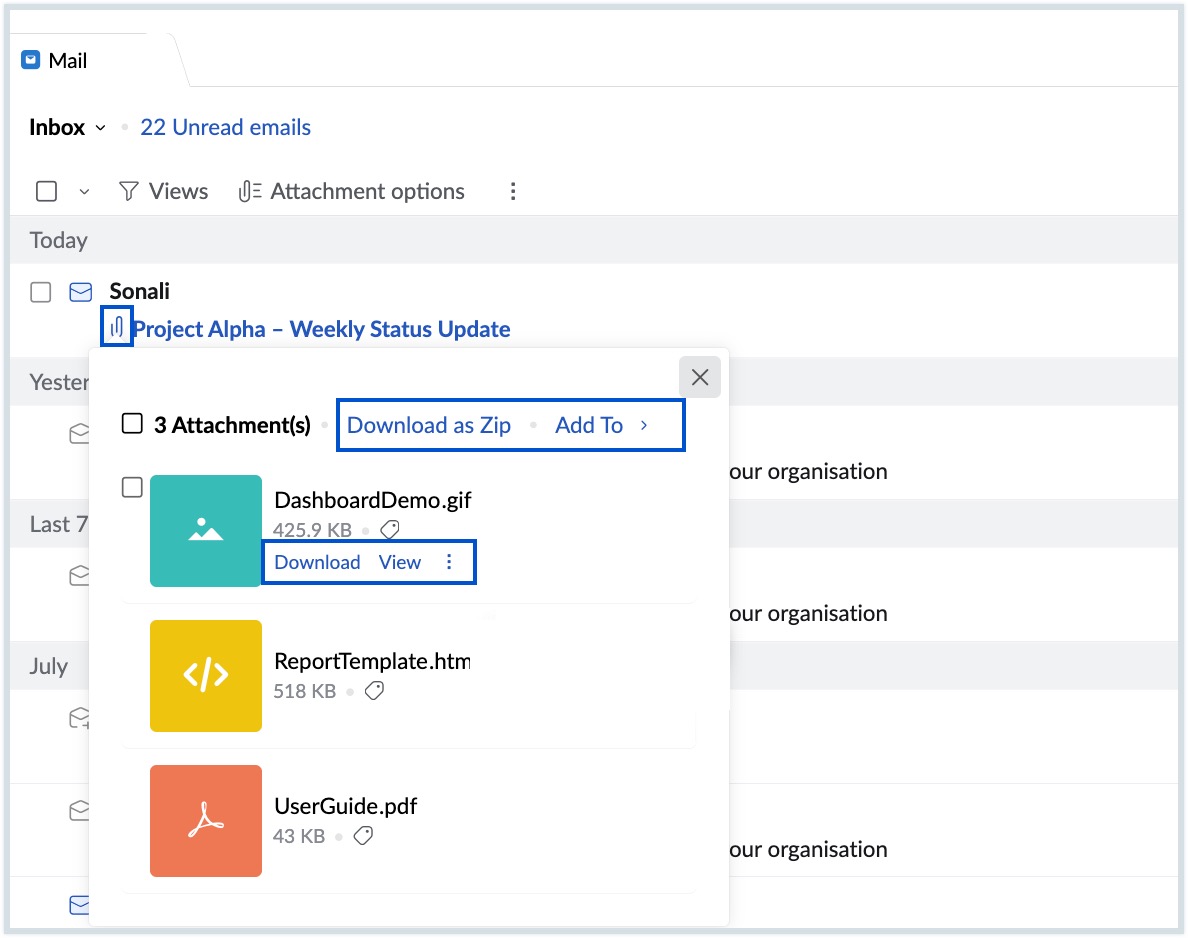
From the email listing, you can click the attachment icon to directly view the attachments in that particular email. Clicking the attachment icon of the header row in a conversation lists all the attachments in the entire conversation. From here, you can choose options such as More options, View attachment, Download attachments (or Download as ZIP), and Add to.
Using the More Options menu
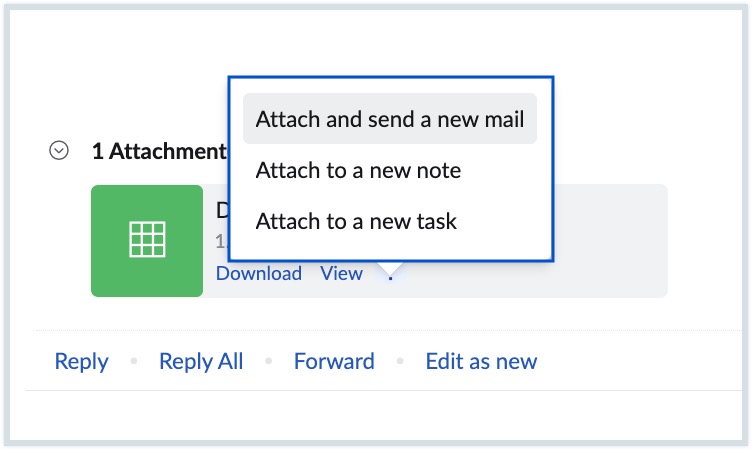
For any single attachment, you can click the More options menu to:
- Attach and send a new mail – Opens a new email draft with the selected file attached.
- Attach to a new note – Creates a new note with the attachment.
- Attach to a new task – Creates a new task with the attachment.

To perform these actions for multiple attachments at once:
- Select the attachments using their checkboxes.
- Open the Add To menu.
- Choose the desired action.

Download Attachments
In NICeMail, you can easily download email attachments to your device. The following sections explain how to download different types of attachments.
Downloading individual attachments
Each attachment in an email has a Download button. When you hover over the attachment, a Download icon will appear. Click the icon to save the file to your computer or device.
Downloading multiple attachments
If an email contains multiple attachments, you can:
- Select specific attachments using the checkboxes next to each file, then click Download as Zip.
- Or, click Download as Zip directly to download all attachments in a single ZIP file.

Once downloaded, extract the ZIP file to access the attachments in your desired folder.
Downloading Password-Protected attachments
Password-protected attachments add an extra layer of security to sensitive files. However, because of their password-protected nature, NICeMail cannot automatically scan these attachments for viruses or harmful content. This may pose a security risk, as such files could potentially contain malicious data. To resolve this, whenever you send a password-protected attachment through NICeMail, you will be prompted to enter the password so the system can securely scan the file before it is delivered to the recipient.
Similarly, when you receive a password-protected attachment and attempt to download it, NICeMail will prompt you to enter the password. This ensures the file is scanned for viruses or threats before the download proceeds, especially if the email originated from outside NICeMail.
Steps to download a password-protected attachment:
- Open the email containing the password-protected attachment.
- Hover over the attachment you want to download, and click Download.
- Enter the correct Password for the attachment file.
- Once the password is verified, the system will scan the file for viruses.
- After a successful scan, the file download will begin.
Note
The password you provide while downloading a password-protected file is not stored at any stage. It is used only to scan the attachment for malicious content.
Warning!
NICeMail does not support scanning password-protected files for download in the following situations:
- If you try to download a password-protected file that is not among the supported formats (.docx, .docm, .pptx, .xlsx, .xlt, .xla, .xlam, .xlm, .pdf, .zip), you will see a warning before proceeding to download it, as these file types cannot be scanned by NICeMail. In such cases, downloading could be unsafe, so make sure you trust the sender and verify the file’s authenticity before continuing.
- If you try to download a password-protected attachment that is a ZIP archive containing multiple password-protected files, or one that has multiple layers of ZIP files with any password-protected content, the files cannot be scanned by NICeMail. You will see a warning in such cases, as these files may pose a security risk. Always ensure you trust the sender and confirm the attachment’s legitimacy before downloading.
Editing email attachments
You can edit email attachments and collaborate on them (documents/ spreadsheets/ presentations) effortlessly using the Writer, Sheets, and Show applications. Writer lets you work on documents and text files while you can use Sheets and Show to edit spreadsheets and presentations respectively.
Steps to edit email attachments
Let's say you wish to edit a presentation.
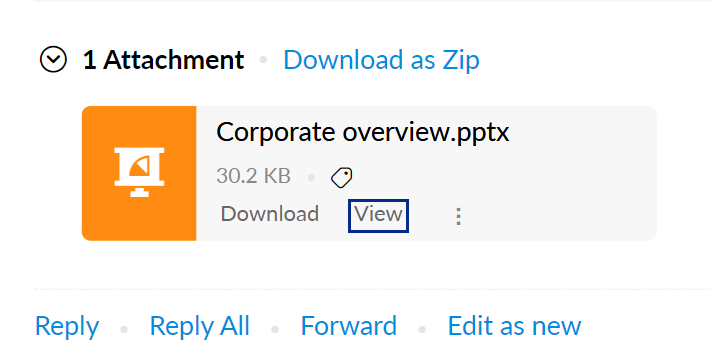
- Move your cursor over the attachment in the email view pane.
- Click the View button within the attachment.

- You will be redirected to the attachment preview. In the preview, click the Copy to Show button. Your attachment will be copied and you will be redirected to a different tab with your attachment open in Show. You can use it as a usual Show file.
- Once you've made a copy, the option changes to Edit with Show in the attachment preview pane. Whenever you click the Edit with Show button of the respective attachment, it will automatically redirect you to the copy you first created.
In case of documents, the button will be labelled as Copy to Writer, and for spreadsheets, click on Copy to Sheets button. Once a copy is created, the options are changed into Edit with Writer and Edit with Sheets respectively in the attachment preview pane.
Note
The option to edit email attachments using Writer, Sheets, and Show will be available based on the policy assigned to your department.